Submitted by pwadmin on
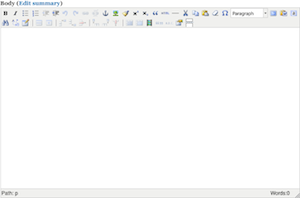 The built-in editor that you use to change the Body section of a page (called TinyMCE) is designed to be similar to other programs you may have used, like Microsoft Word. However, you will notice some slight differences because:
- Web pages are all parts of one website, so they all need to look similar (like a series of brochures at the bank).
- Web pages are not constrained to a piece of paper with a fixed size: people can view them on their mobile phones, tablet PCs, computers and televisions, which all have different-sized screens
- Web pages are interactive and dynamic... a page may have animations, video, maps, etc.
Differences from Word
In Word, you must (manually) make the page look exactly like the final product.
On the web, however, making every page look and feel similar is an incredible amount of effort... too much to be worth doing. It's a lot easier when you change one part of the page at a time and let the computer do all of the work to make the header, menus, sidebars and footer look the same.
Note: If all pages look similar, users can easily find the things they want because those things will always look the same and be in the same place... they won't get lost and they'll feel more comfortable.
Since you're only editing one part (the title and body) of the final webpage, what you see when you're editing a page should be really close to the final product; but it won't be exactly the same (although people are working hard to improve this!). If you are concerned, you can always preview what you've got using the Preview button on the content form.
Adding Images and Links
Inserting Images
Images can be inserted into a page if they have been uploaded to the weisite. If an image file is not present on the website, it can easily be uploaded.
To insert an image click on the "Insert/edit image" button found on the tool bar: ![]()
On the Insert/edit image dialog box, click on the "Image URL" browse button:
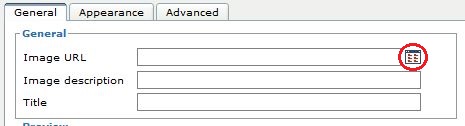
This will display the "File Browser" window:
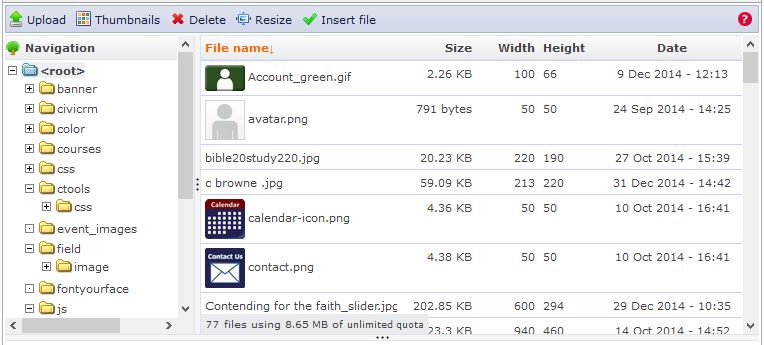
The navigation area can be used to drill down into sub folders to locate files found there. The area on the left displays the list of files located in a particular folder. All files will be listed, so look for files that have extensions like .png, .gif or .jpg. Some images will display a thumbnail image, others will just show the file name.
To insert an already existing file, click on the image (or image name) to highlight it and then click the Insert File button:
![]()
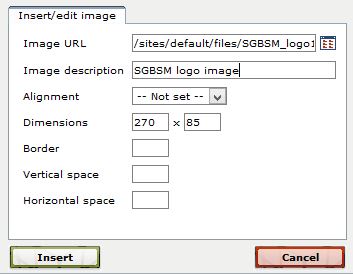
Back on the Insert/edit Image dialog box, there should be a file path for the image in the Image URL text box and a preview image. Enter an image description - this will appear if the image is unavailable or will assist users with accessibility options enabled. Click the "Insert" button to add the image to the webpage:
If the image file is not present on the website, it can be uploaded. To upload a new image file, click the Upload button on the "File Browser" window:
![]()
This opens an Upload window:
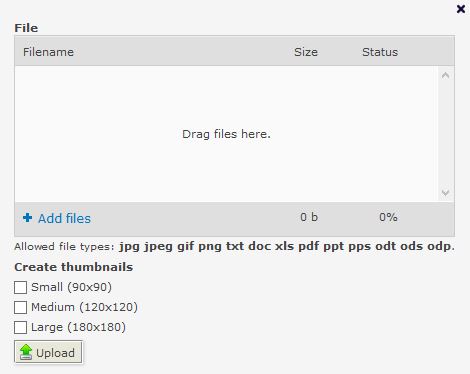
Then add the file by either clicking the "Add files" link or dragging and dropping the file into the "Drag files here" area. Multiple files can be added. To upload the selected file (or files), click the "Upload" button.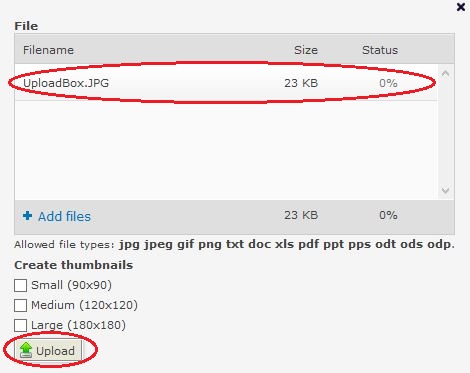
Now that the image file is available to the website, insert the file as explained above.
Inserting links
To insert a link,
1. Type the link text
2. Highlight the link text
3. Click on the "Insert/edit Link" button in the tool bar:
![]()
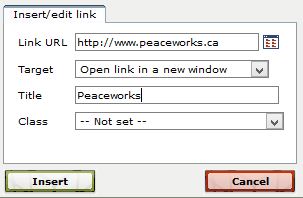
4. Fill out the Link details - enter a Link URL, select whether the link will open in a new window or the current window and give the link a title. Then click the Insert button.